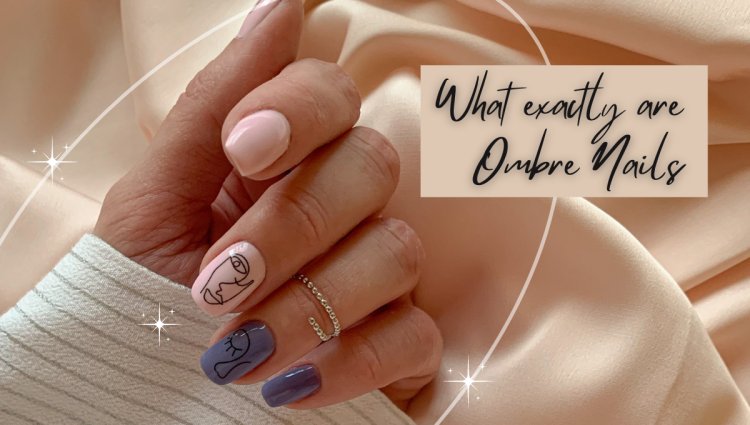
What exactly are Ombre Nails?
Ombre nails are in the fashion right now and it's clear that everyone is looking to have them.

Ombre nails are in the fashion right now and it's clear that everyone is looking to have them. The best part is that they don't need any new technique or something that could turn the world upside down; in fact, the world can remain afloat - at least for the moment. Ombre nails are a kind of manicure that suggests a unidirectional blended color transition or gradient (light to dark, or reverse) in addition to a particular kind of nail.
Ombre nails are made with any enhancement type (gel polish, gel polish, traditional dip acrylics, or lacquer) however, to achieve this, we'll refer to the traditional acrylics that are liquid or powder acrylic. For a good concept take a look at the classic as well as timeless design: white and pink. There's Pink on the fingers and White on the free edge with a precise and well-placed smile line that separates the two. Take that clearly defined smile line, and smooth it until the pink gradually fades away through the cuticle to white at the tips.
Finding an ideal Ombre effect requires time and practice. Since you're able to make Ombre with any of the products we have, we've created an opportunity to show off your creativity and originality by creating your Ombre unique to you.
How to Create Ombre Nails!
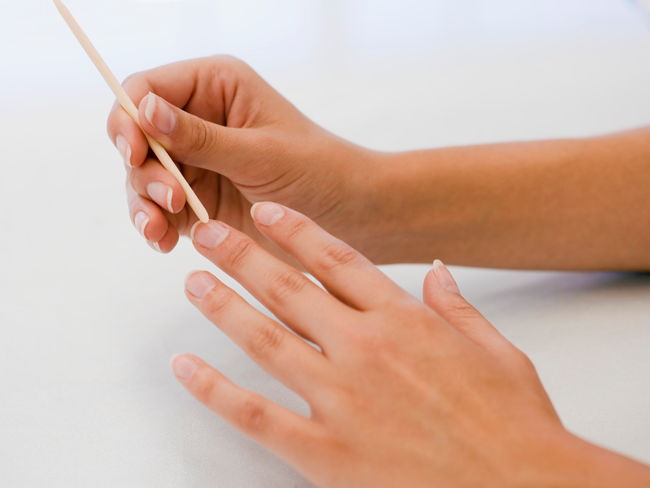
Begin by preparing your nails properly nail preparation!
Apply the color of your choice to the tip, and then apply it to the edge that is free. With your brush, similar to feathers, you'll like to move it gently toward the cuticle, just passing the mid-point of your nail.
Dry your brush and rub the remaining nail to ensure that the application of the acrylic is clean and smooth.
Apply a tiny bead of the "cover" color you're selecting on the faded line of the previously applied acrylic. Move this color towards the point using gentle strokes that gently pull your nail in the most evenly as possible.
Apply a cuticle bead and evenly drag the color downwards toward the tip.
After these acrylic points are placed (and cleaned, when needed) After that, it is recommended to coat the entire enhancement with an application of high-quality, "crystal" clear powder. Apply your crystal clear powder a bit farther back from your cuticle in the center area where your apex is supposed to be. Utilizing your brush, move the powder towards the cuticle before moving it along the sides and then through the point. Make sure you leave a portion of the transparent bulk behind where you put it to form the Apex.
The newest layers of acrylic in such a way that it's flush with the cuticle, and shapes your nail to the shape you prefer. Make sure you smooth off any tiny scratches left through the filing.
Apply an even layer of final coating (Dual Sealer) and let your work shine.
What's Your Reaction?


